Deep Cloning in JavaScript
Javascript is the basis of today’s modern web technology and plays a pivotal role in providing effective functionalities to websites and web applications. One of the essential elements that power its capability to include complex functionalities is objects in Javascript.
From performing as a holy grail that aids developers in creating complex data structures to storing multiple properties an object in JS can serve multiple purposes at once. However, JS objects are stored in the memory and to use the object while working you need the reference to the object that is stored in the memory.
Unlike primitive data types in JS, you can actually work around the value assigned to the properties stored within the object to help you achieve a wider set of functionality. You can effectively achieve this via deep cloning and shallow cloning. With this blog, we will perform a deep dive into how you can make the best out of JS objects. So let’s dive in without further adieu.
Table of contents
Getting started with JavaScript objects
JS objects similar to the concepts of the object in web development allows you to store information in key-value pairs. Hence, enabling developers to group their information effectively in case they are dealing with complex data sets. Here’s how you store information within JS objects:
let rect = {
    height: 10,
    width: 20
};
Now if you have to work with an object, let’s say assign it to a variable, you will have to use the reference to the object. Let’s test this with the example below:
let rect = {
  height: 10,
  width: 30,
};

// showcasing how we use references to work with objects
let newRect = rect;

newRect.height = 15; // this will change the value of the rect object also

console.log(rect);
console.log(newRect);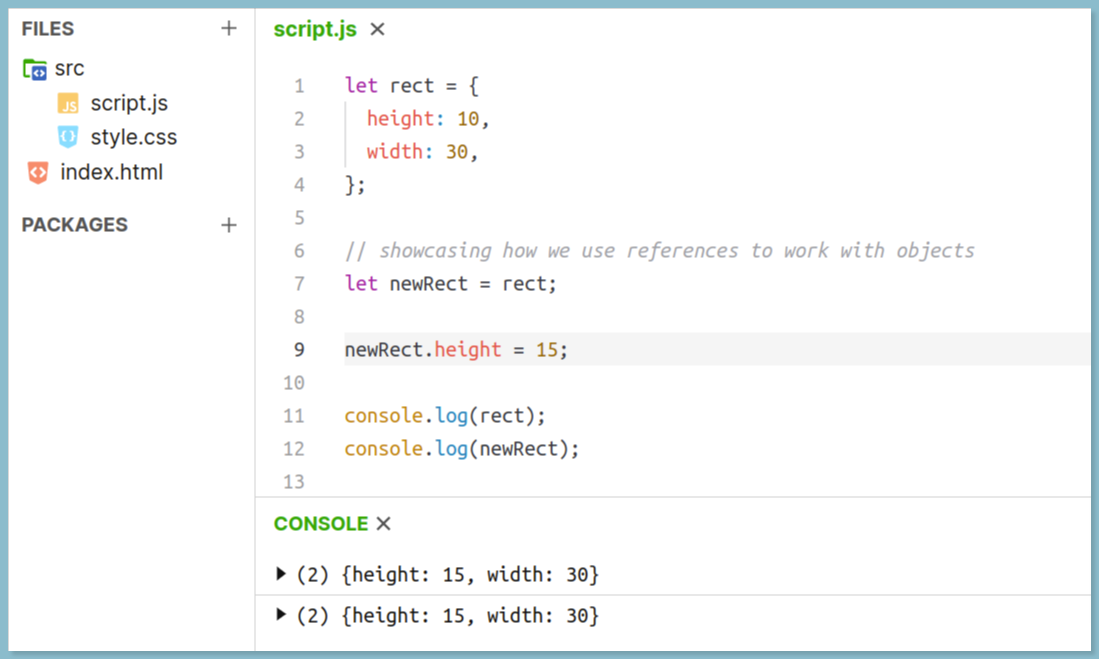
How to copy objects in JavaScript?
To copy objects and make use of them effectively there are multiple methods that generally result in two outputs shallow clones and deep clones. In a Shallow clone, the changes in the main objects are reflected in the clone as well whereas in a deep clone changes in the main object are not reflected in the copy.
A majority of copy methods in Javascript focus solely on shallow cloning methods and for deep cloning, we can rely on community libraries for Javascript.
1. Shallow cloning methods in JavaScript
For Shallow cloning of objects in Javascript, you can use Object.assign method and Spread Syntax. Both of these are available in ES6, hence keep in mind to use JS ES6 version if you’re planning to implement object cloning. Let’s take a look at both methods.
i.) Object cloning with Object.assign()
The Object.assign() method can help in cloning and merging objects into one integrated JS object carrying similar properties. It can help developers copy value and properties effectively from objects.
Note: We cannot use Object.assign() for deep cloning as copies property values from the main object hence making its result subjective to the data stored in the main object.
To use the Object.assign() we will use the following syntax:
const copyObj = Object.assign(target, sources)- The target holds the value and properties you wish to clone
- The sources hold reference from objects from which you are copying the value for the new object.
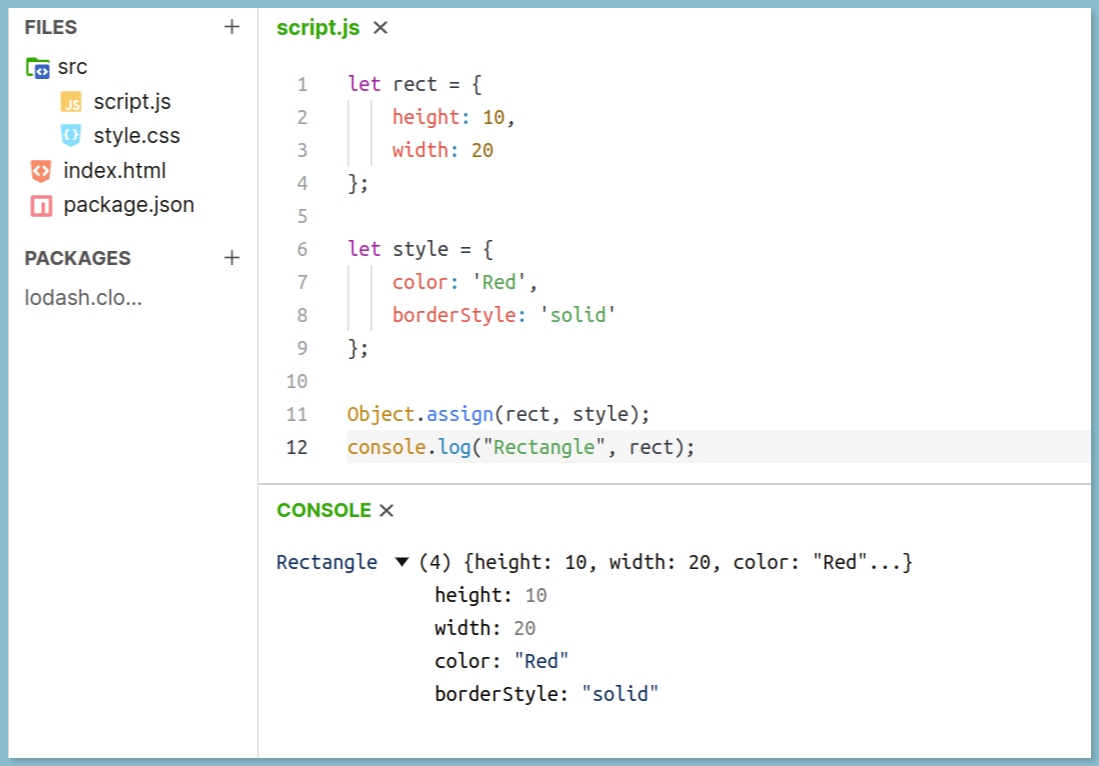
Let us use Object.assign() to merge two separate objects into one:
let rect = {
    height: 10,
    width: 20
};

let style = {
    color: 'Red',
    borderStyle: 'solid'
};

Object.assign(rect, style);
console.log(rect); // { height: 10, width: 20, color: 'Red', borderStyle: 'solid' }
ii.) Object cloning with spread syntax
Spread operators assist developers in adding spread properties to the JS object literals. With this developers can easily create shallow copies of existing objects with value updates or new values.
To further, understand how the spread syntax copies innumerable object values and creates new objects let’s look into it through the following example:
let rect = {
    height: 10,
    width: 20
};

let style = {
    color: 'Red',
    borderStyle: 'solid'
};

// using spread syntax to merge objects
const rectWithStyle = { ...rect, ...style };
console.log(rectWithStyle);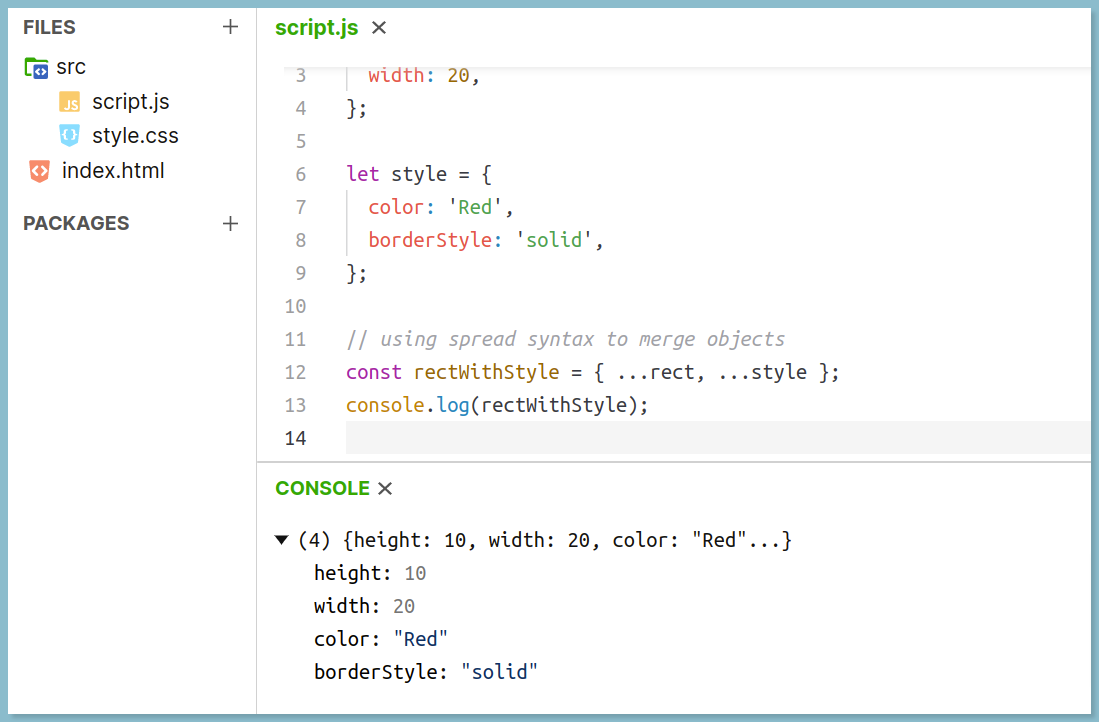
In this example, we can clearly see that newObj emerges from the merging of two previous objects. From this, you might notice that object.assign() and spread syntax is quite similar to each other. However, they mainly differ as object.assign() operators trigger setters while spread syntax won’t.
2. Deep cloning methods in JavaScript
Although the methods mentioned above can assist you with effective object cloning, there are multiple other object cloning scenarios where you might need to adapt different strategies. Let’s look into these scenarios in detail.
i.) Cloning object properties into new-object after iterating
In situations where you need to iterate through an object’s properties and copy them into a new object, you will first need to create an empty object and copy the source object’s structure within them by iterating through its properties. Here’s a basic example of how you can achieve this with ease.
let rect = {
  height: 10,
  width: 40,
};

let clonedRect = {}; // the new empty object
// let's copy all box properties into it
for (let key in rect) {
  if (rect.hasOwnProperty(key)) {
    clonedRect[key] = rect[key];
  }
}

// now clone is a fully independent object with the same content
clonedRect.height = 20; // changed the data
clonedRect.width = 60; // changed the data

console.log('Rectangle', rect); // still 10 will be in the original object rect
console.log('Cloned Rectangle', clonedRect);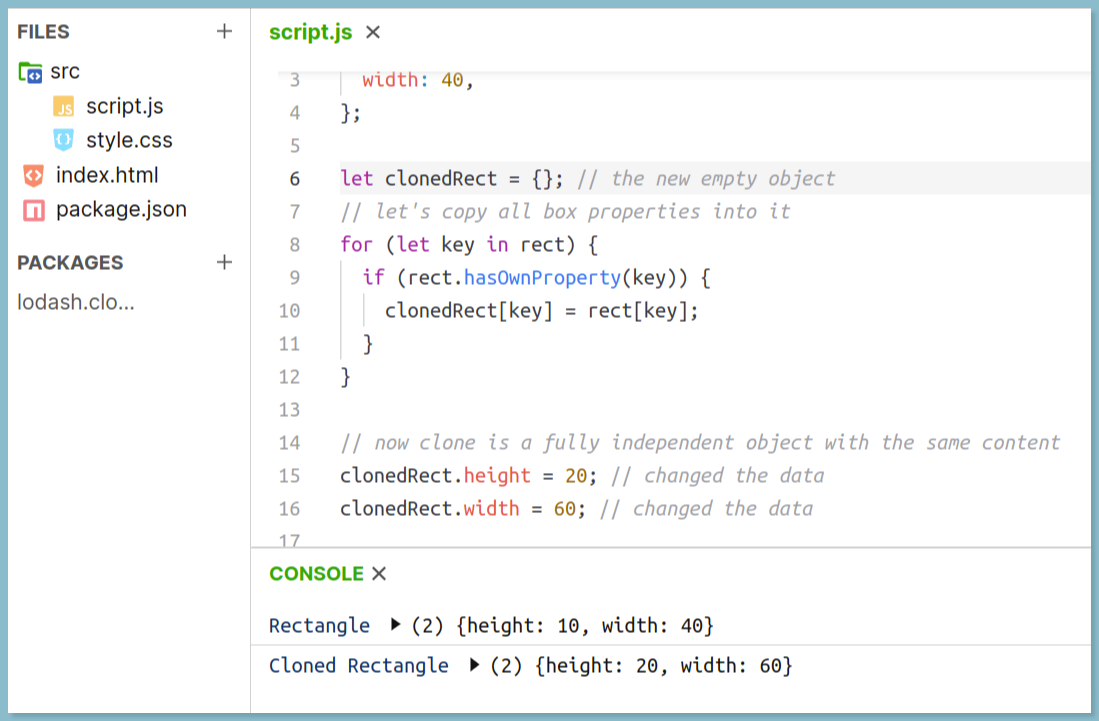
ii.) Object Cloning with JSON.parse() and JSON.stringify()
If your source object is JSON safe, i.e. if it doesn’t consist of complex data types using JSON.parse can help you deep clone the objects with ease. Since using JSON.parse in complex data types might result in unpredictable outcomes and increase the chances of runtime errors.
Here’s a short example of how you can use JSON.parse for Deep Cloning:
let rect = {
  height: 10,
  width: 30,
  style: {
    color: 'Red',
    borderStyle: 'solid',
  },
};

let jsonStr = JSON.stringify(rect);
let clonedRect = JSON.parse(jsonStr)

clonedRect.height = 15;
clonedRect.style.color = 'Blue';

console.log('Rectangle', JSON.stringify(rect));
console.log('Cloned Rect', JSON.stringify(clonedRect));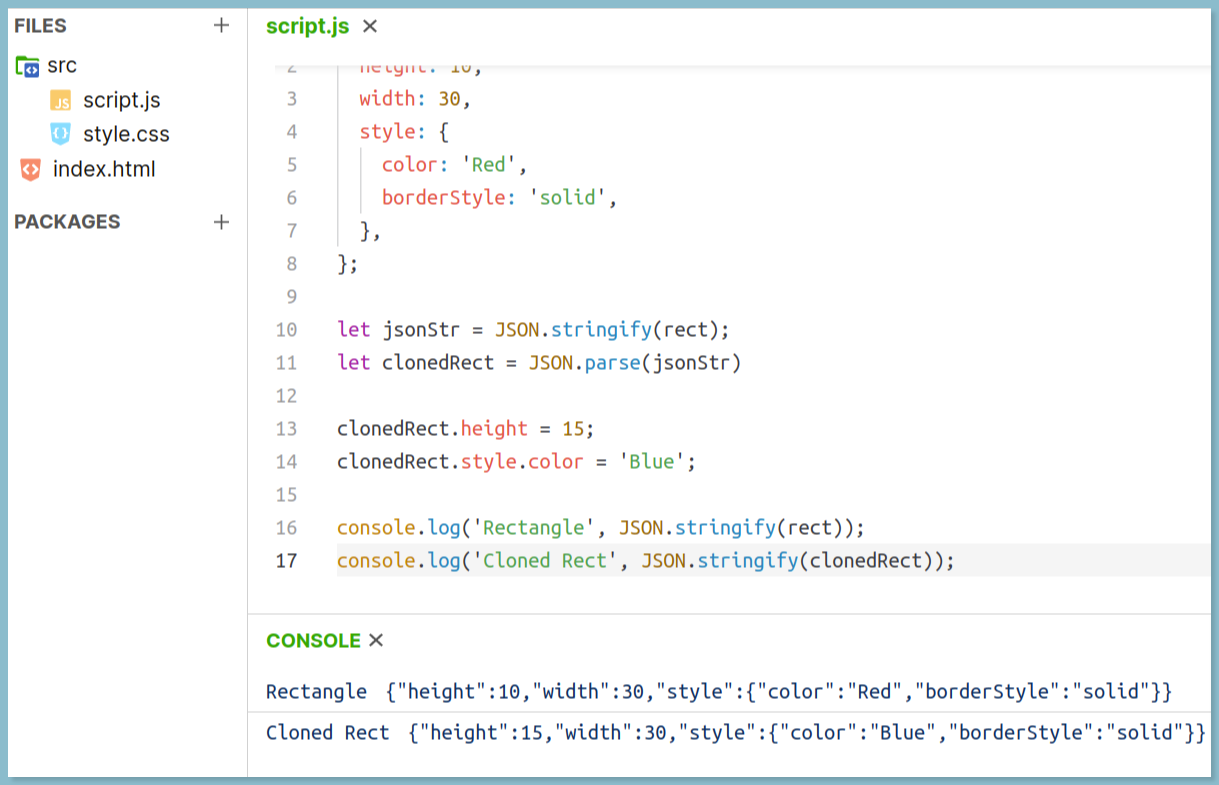
3. Deep cloning using JavaScript library
Mostly shallow cloning is enough for developers to use objects in achieving functionalities. However, if you are dealing with deeply nested objects shallow cloning might result in faulty copies.
In such cases, a better alternative would be to adapt to community-backed libraries for cloning complex object structures. For deep cloning, today we will use the Lodash library. Lodash is an open-source library that uses concepts of functional programming to provide utility functions to developers.
Let’s take a look into the clone and cloneDeep method available in the Lodash library for effective deep cloning.
const cloneDeep = require('lodash.clonedeep');

let rect = {
  height: 1,
  width: 2,
  style: {
    color: 'Red',
    borderStyle: 'solid'
  },
};

let clonedRect = cloneDeep(rect);

rect.height = 10;
rect.style.color = 'Blue';
rect.style.borderStyle = 'dotted';

console.log(JSON.stringify(rect));
console.log(JSON.stringify(clonedRect));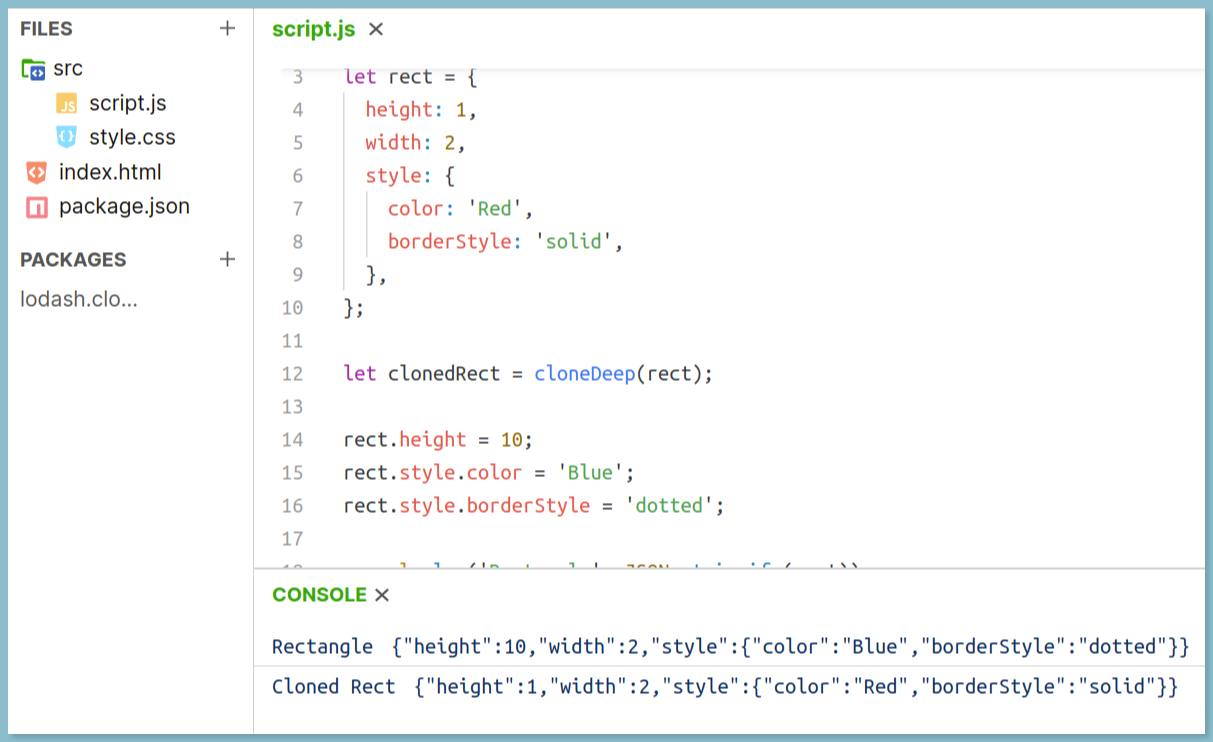
Both methods clone and cloneDeep have almost similar syntax, you can install and use these methods in Node.js as well. For this, you will need to install the following packages respectively:
- For Clone:
npm i lodash.clone - For CloneDeep:
npm i lodash.clonedeep
Final words on object cloning in JavaScript
Object Cloning is an essential practice amongst javascript developers as it allows them to use complex data structures stored in objects.
Further, from the above discussion, we can clearly conclude that be it deep cloning or Shallow cloning of objects, JS developers can easily achieve each with strategic practices.
So, while cloning JS objects explore your functionality needs beforehand and perform cloning accordingly. You can practice the tutorials mentioned above to further improve your JS object cloning skills before trying your hands-on real-time problems.
Atatus Front-end Performance Monitoring
Atatus is a scalable end-user experience monitoring system that allows you to see which areas of your website are underperforming and affecting your users. Understand the causes of your front-end performance issues and how to improve the user experience.
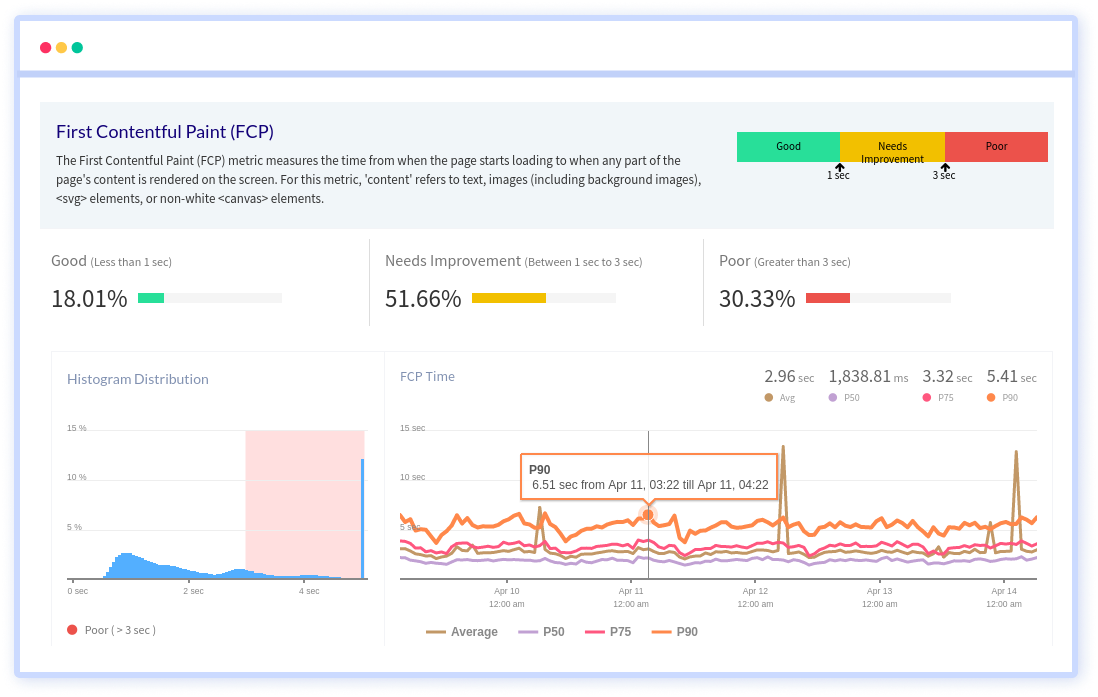
By understanding the complicated frontend performance issues that develop due to slow page loads, route modifications, delayed static assets, poor XMLHttpRequest, JS errors, core web vitals and more, you can discover and fix poor end-user performance with Real User Monitoring (RUM).
You can get a detailed view of each page-load event to quickly detect and fix frontend performance issues affecting actual users. With filterable data by URL, connection type, device, country, and more, you examine a detailed complete resource waterfall view to see which assets are slowing down your pages.
#1 Solution for Logs, Traces & Metrics
APM
Kubernetes
Logs
Synthetics
RUM
Serverless
Security
More


